B2CJ06K1 - 206 MA GEARBOX
REMOVAL GEARBOX CASING
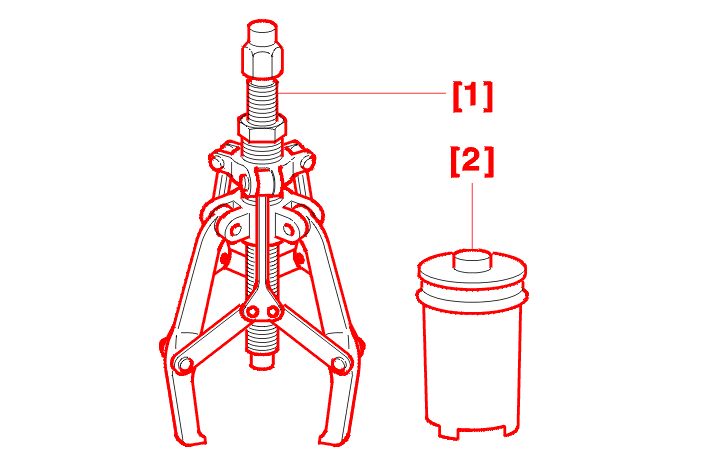
1 - SPECIAL TOOLS
| reference | description | reference | reference |
|---|---|---|---|
| [1] | three legged extractor | FACOM U20 | FACOM U20 |
| [2] | socket for tightening the output shaft nut | (-).0317-Z | 4526-T |
2 - PRELIMINARY OPERATIONS
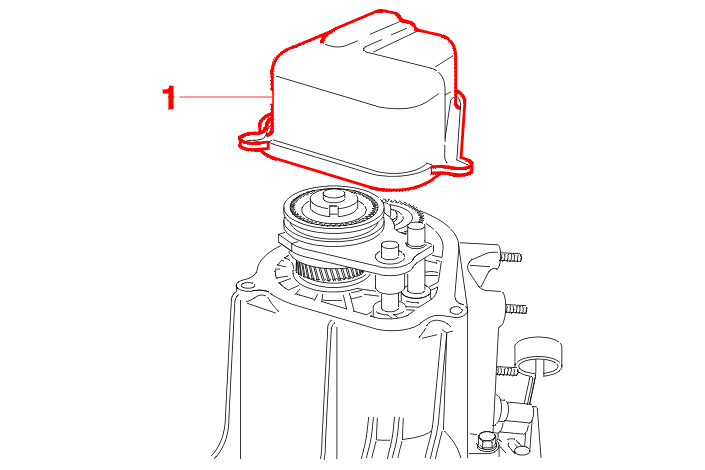
Stripping the gearbox .
3 - REMOVAL (MA4/MA5)
Remove :
4 - REMOVAL OF THE NO. 5 SPEED DRIVE (MA5)
Drift the pin out of the fork (5th) .
Immobilise the output shaft by engaging 2 gears :
4 - 1 - PRODUCTION FITTING OF THE OUTPUT SHAFT NUT

Slacken the nut (2) .
Position the 5th speed synchroniser in neutral .
Remove :
Mark the synchroniser hub and sleeve at (D) and (E) .
Cover the sleeve with a cloth to retrieve the balls, springs and fingers .
Remove the 5th speed sleeve (4) and its fork (5) .
4 - 2 - SERVICE FITTING OF THE OUTPUT SHAFT NUT
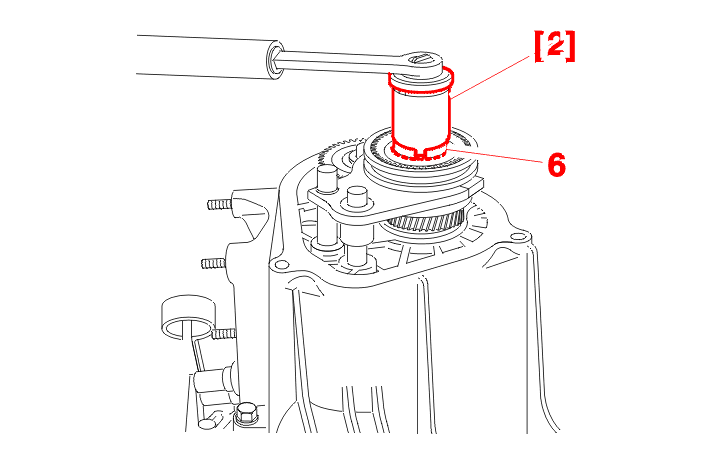
Unlock the nut (6) .
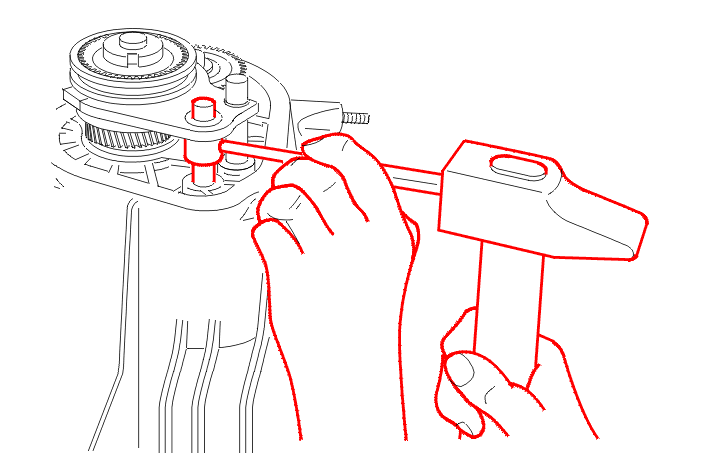
Slacken the nut (Using the tool [2]) .
Position the 5th speed synchroniser in neutral .
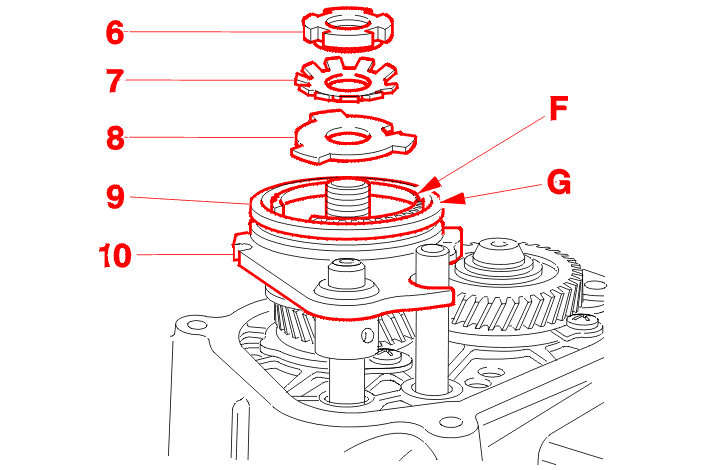
Remove :
Mark the synchroniser hub and sleeve at (F) and (G) .
Cover the sleeve with a cloth to retrieve the balls, springs and fingers .
Remove the 5th speed sleeve (9) and its fork (10) .

Extract the 5th speed driven gear and synchro hub assembly with the extractor [1] .
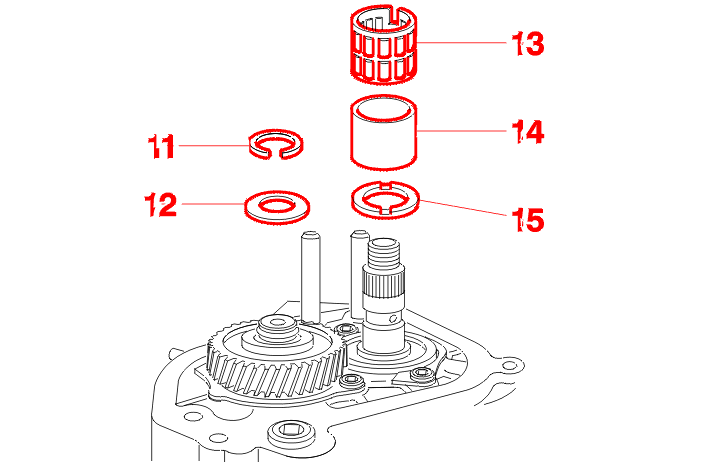
On the input shaft, remove :
On the output shaft, remove :
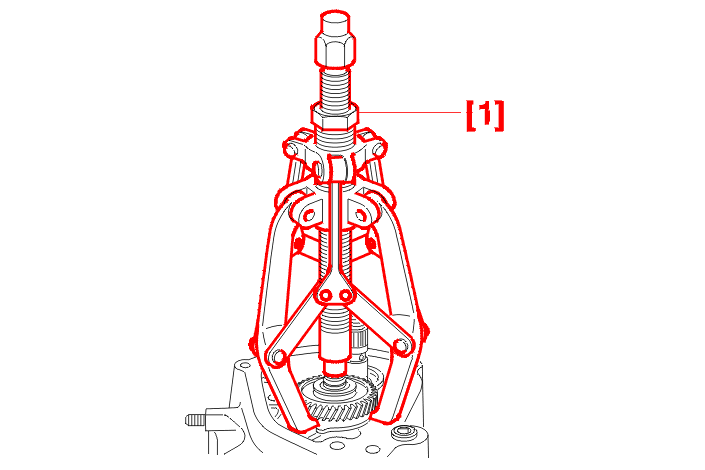
Extract the 5th speed driving gear with the extractor [1] .
5 - REMOVAL (CONTINUED) (MA4/MA5)

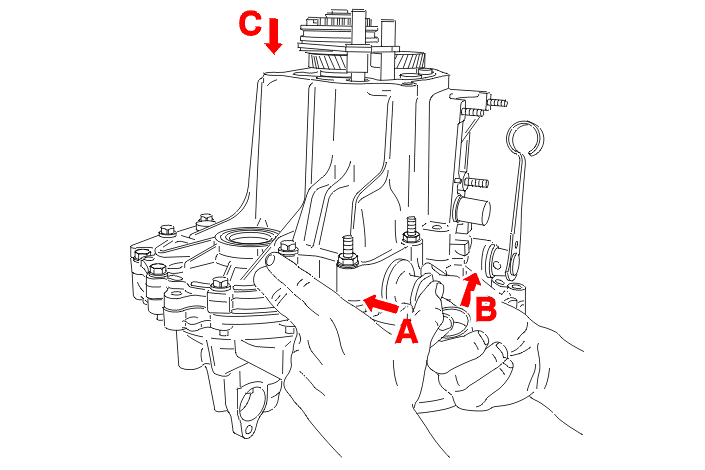
Remove :

NOTE : mark the position of the casing's headless mounting bolts if the gearbox is fitted with them .
Remove :
6 - COMPLEMENTARY OPERATION(S)
WARNING : observe the cleaning and refitting conditions .
Refitting the gearbox cover .
Assembling the gearbox .